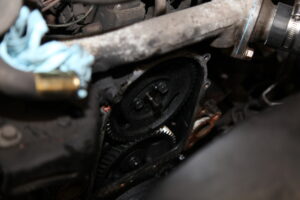
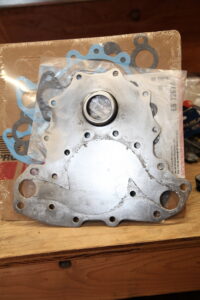
If I was in a hurry I am sure this project would be buttoned up by now. I’m taking my time. Progress is progress and this weekend I finally managed to get the water pump and water pump backing plate removed. It was a dirty and messy affair. Over the years oil has sprayed past the oil return line and baked onto the exterior of the water pump and backing plate. The last time the pump was replaced someone used RTV silicone instead of a paper gasket on the water pump housing as well. Luckily my dad was there to lend a hand by cleaning the greasy bits in the solvent tank.
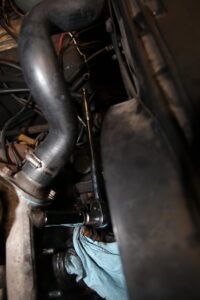
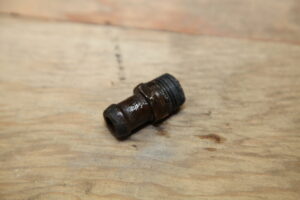
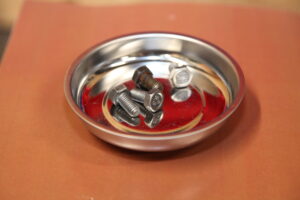
The first step was to get the radiator return line fitting off so I could free the final bolt holding the water pump and pump backing plate in place. I had to acquire some additional tools to get the job done. Namely a set of half inch metric sockets and a half in breaker bar. The right tools made the job a breeze. The next step was to remove each of the bolts holding the water pump backing plate in place. In typical GMC fashion there is a mix of 13mm and 15mm bolts. Yes they are metric bolts. This truck was made in Canada. The key to removing the bolts is that they all need to go back in the same place. I made a little cardboard map with each bolt numbered 1 to 13. Bolt 1 is the first stud on top left of the backing plate.
This type of job is all about patience. The 6.2L Detroit Diesel is a reliable, robust, and economical engine. However, it has a number of design quarks related to the water pump that make this particular task rather involved. The water pump is attached to a backing plate with bolts facing the inside of the timing gear housing. The backing plate also houses the oil fill tube which dumps the oil directly into the timing gear housing. To make matters worse the alternator and power steering pump must also be removed to replace the water pump. The icing on the cake is that there are two studs at the bottom of the water pump backing plate mounted through-hole that are sized to not interfere with the bottom timing gear. Putting the wrong stud in place could trash the timing gears or worse. I managed to do a great job of keep track of every bolt except those two. That’s a problem I’ll need to solve later by taking some measurements.
The real work was getting all of the gunk off of every last bit of everything. The water pump and the water pump backing plate were completely caked with oil which had been repeatedly been baked on layer after layer, year after year. I had to hit everything with a wire brush just to get to the bolts I needed. I don’t think I’m exaggerating when I say there was a quarter inch or more of caked on grease. Some bolt-heads couldn’t even be seen beneath the grease patina.
After this I hit every bolt, and I mean every bolt, with a wire wheel. It was a painstaking process to wire-wheel away the years of soot, oil, corrosion, and in some cases RTV silicone in the threads. Some bolts were pitted due to corrosion. Some were nearly impossible to remove due to the corrosion or caked on gasket-maker. I used a set of vice-grips to hold each bolt while I cleaned them with the wire-wheel to keep my fingers away from the spinning wires.
The worst was the backing plate. I need it to put everything back together. It was a trifecta of caked-on and baked-on grease, baked-on gasket-maker, and old paint. It took a couple of hours soaking in some Simple Green and a whole tube of elbow-grease to get the backing plate cleaned up enough to use again. About halfway through scraping and scrubbing I took a look at eBay to see how much a new backing plate costs. Suffice to say my time probably wasn’t worth it, but I was already committed to the job at that point so I kept scrubbing.
There is a fair amount of pitting on the backing plate. The pitting is especially pronounced where the water pump sits. These backing plates are usually painted everywhere except where the coolant flows from the water pump. The back-side which faces the timing gears does not have paint. My plan is to paint the front of the plate OEM style.
Since I’m taking my time the next step is to paint all of the things that haven’t stood up to a hearty 262,000 mile interval deep cleaning. I plan to apply VHT primer, paint, and clear-coat to the face of the backing plate and other parts that have been removed along the way. I like the idea of using a primary color based scheme with Chevy Orange Red (the color of my truck), Yellow, and Ford Light Blue. These colors are similar to the Meccano Erector Sets from the 90s. However, there is a special meaning to the colors as well. The ash-tray has always sported a sticker of Road Runner from the Loony Tune’s classic Wiley E. Coyote and Road Runner cartoon. Road Runner is blue and yellow, and the truck is red. The colors are a tribute to original owner. Although at this point I have owned this truck longer than the original owner owned it. I like the colors.
